SpringBoot Caching with Redis
In this topic will learn how to use the redis cache in SpringBoot. Redis is a NoSQL database, so it doesn’t have any tables, rows, or columns. Also, it doesn’t allow statements like select, insert, update, or delete. Instead, Redis uses data structures to store data.
What is Redis?
Redis stands for Remote Directory Server, it is an in-memory data store, is one of the many options for implementing caching in Spring Boot applications due to its speed, versatility, and simplicity of use. It is a versatile key-value store that supports several data structures, such as Strings, Sorted Sets, Hashes, Lists, Streams, Bitmaps, Sets, etc., because it is a NoSQL database and doesn’t need a predetermined schema.
Redis can be used in various ways, including:
- 1. In-Memory Database: In today’s data-driven world, handling vast amounts of real-time data is a common challenge for businesses. A real-time database is a type of data repository designed to acquire, analyze, and augment an incoming stream of data points in real time, often immediately after the data is produced. Redis may be used to build data infrastructure for real-time applications that need high throughput and low latency.
- 2. Cache: Many applications struggle with the need to store and retrieve data quickly, especially in systems with high latency. Due to its speed, Redis is the ideal choice for caching API calls, session states, complex computations, and database queries.
- 3. Message Broker (MQ): It has always been difficult to stream data around the organization and make it accessible for various system components. Redis supports messaging, event sources, alerts, and high-speed data intake using its stream data type.
How Does Redis Caching Work?
Redis Cache effectively stores the results of database retrieval operations, allowing subsequent requests to retrieve the data directly from the cache. This significantly enhances application performance by reducing unnecessary database calls.
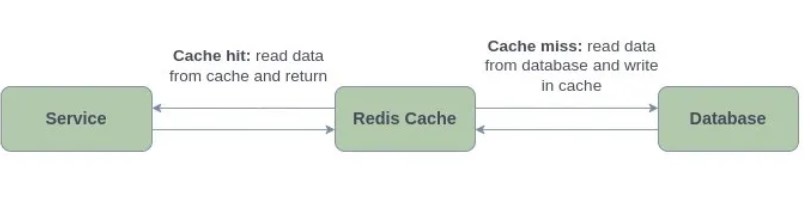
When a request is made, the service initially looks in the Redis cache for the desired data. When a cache hit occurs, the data is retrieved from the cache and provided back to the service, avoiding the need to interact with the database.
However, if the requested data is not found in the cache (cache miss), the service intelligently falls back to the database to retrieve the required information. Subsequently, the fetched data is stored in the Redis cache, enabling future requests for the same data to be served directly from the cache, thereby eliminating further database queries and speeding up overall response times.
Springboot + Redis cache integration
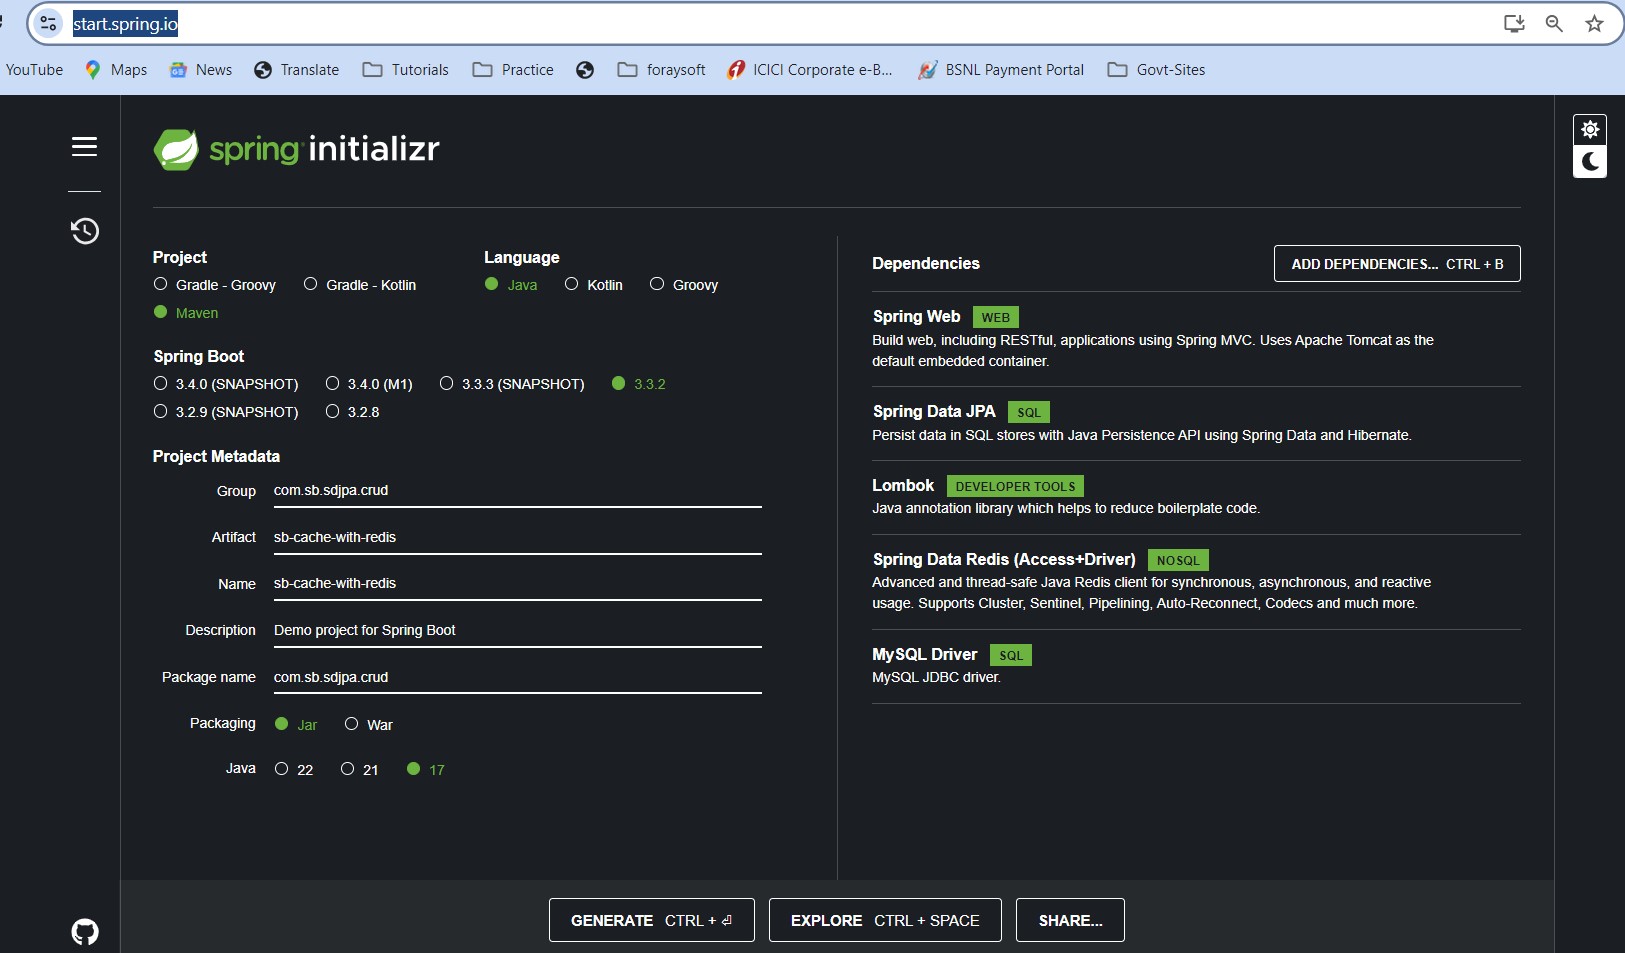
First create the project in Spring Initializer
download and import the same in the IDE
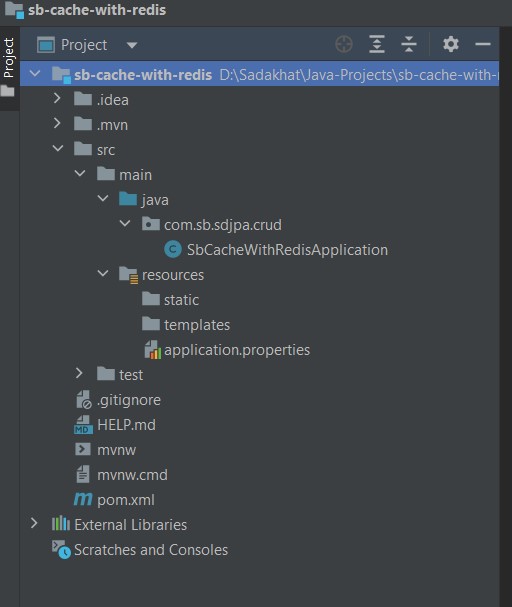
Once we imported the project in IDE (I am using IntelliJ IDEA) its structure will be looks like
below
First will create the basic CRUD operation, on top of it will integrate the redis cache,
to create a basic CRUD operation will
Follow SpringBoot and SpringDataJPA
With MySQL Example
Maven Dependency
While creation of the project we have selected the SpringData Redis library. If we're making changes in the existing project or service we need to add below dependency in pom.xml file.
    <dependency>
        <groupId>org.springframework.boot</groupId>
        <artifactId>spring-boot-starter-data-redis</artifactId>
    </dependency>
Configure Redis using application.yml
    spring:
        application:
        name: customer-registration
    datasource:
        url: jdbc:mysql://localhost:3306/customerdb
        username: root
        password: PASSWORD
        driver-class-name: com.mysql.cj.jdbc.Driver
    jpa:
        properties:
        hibernate:
            dialect: org.hibernate.dialect.MySQL8Dialect
        hibernate:
        ddl-auto: update
        show-sql: true
    cache:
        type: redis
        host: localhost
        port: 6376
        redis:
        time-to-live: 60000
    server:
    port: 8087
The PostgreSQL database is used, and the necessary database connection properties are introduced. In addition, we define Redis as our cache provider, along with its hostname and port.
Time To Live(TTL): A good practice for caching is to ensure that excess and redundant data is not accumulated indefinitely, as this can result in stale or outdated data being served to users. To serve this, we can take advantage of the time-to-live property, which is an optional setting that allows us to set the expiration time for cached data. After the specified time has elapsed, the cached entry is automatically removed from the cache. This makes space for new data to be fetched and stored in the cache the next time it’s requested. If no value is assigned to the property, it becomes -1 by default, which means the data will stay in the cache indefinitely.
We have set our time to live property to be 60000 ms in the example, which means that the data will be cleared from the cache after every minute.
Enable caching in spring boot
Add the annotation @EnableCaching to the starter class. It will trigger a post-processor that inspects every Spring bean for the presence of caching annotations on public methods.
    import org.springframework.boot.SpringApplication;
    import org.springframework.boot.autoconfigure.SpringBootApplication;
    import org.springframework.cache.annotation.EnableCaching;

    @SpringBootApplication
    @EnableCaching
    public class SbCacheWithRedisApplication {

        public static void main(String[] args) {
            SpringApplication.run(SbCacheWithRedisApplication.class, args);
        }

    }
Annotation-based caching on the controller layer
Use caching annotations in the controller layer to enable caching for specific methods
@Cacheable is used to fetch data from the database, storing it in the cache. Upon future invocations, the method retrieves the cached value directly, eliminating the need to execute the method again.
    @GetMapping("/getById/{customerId}")
    @Cacheable(value = "customerInformation", key = "#customerId")
    public ResponseEntity<APIResponse> getByCustomerId(@PathVariable long customerId) {
        return customerService.getByCustomerId(customerId);
    }
The value attribute establishes a cache with a specific name, while the key attribute permits the use of Spring Expression Language to compute the key dynamically. Consequently, the method result is stored in the "customerInformation" cache, where respective "customerInformation_customerId" serves as the unique key. This approach optimizes caching by associating each result with a distinct key.
@CachePut is used to update data in the cache when there is any update in the source database.
    @PutMapping("/update/{customerId}")
    @CachePut(cacheNames = "customerInformation", key = "#customerId")
    public ResponseEntity<APIResponse> updateCustomer(@PathVariable long customerId, @RequestBody CustomerRequest request) {
        return customerService.updateCustomerDetails(customerId, request);
    }
The cacheNames attribute is an alias for value, and can be used in a similar manner.
@CacheEvict is used for removing stale or unused data from the cache.
    @DeleteMapping("/deleteById/{customerId}")
    @CacheEvict(cacheNames = "customerInformation", key = "#customerId", beforeInvocation = true)
    public ResponseEntity<APIResponse> deleteByCustomerId(@PathVariable long customerId) {
        return customerService.deleteByCustomerId(customerId);
    }
We use cacheName and key to remove specific data from the cache. The beforeInvocation attribute allows us to control the eviction process, enabling us to choose whether the eviction should occur before or after the method execution.
    @DeleteMapping("/deleteById/{customerId}")
    @CacheEvict(cacheNames = "customerInformation", allEntries = true)
    public ResponseEntity<APIResponse> deleteByCustomerId(@PathVariable long customerId) {
        return customerService.deleteByCustomerId(customerId);
    }
Alternatively, all the data can also be removed for a given cache by using the allEntries attribute as true. The annotation allows us to clear data for multiple caches as well by providing multiple values as cacheName.
@Caching: which is used for a multiple caching on the same method. As java doesn't allow multiple annotations of the same type, hence @caching annotation will help us to do the same. Example below.
    @PutMapping("/update/{customerId}")
    @Caching(
        evict = {@CacheEvict(cacheNames = "customerInformation", allEntries = true)},
        put = {@CachePut(cacheNames = "customerInformation", key = "#customerId")}
    )
    public ResponseEntity<APIResponse> updateCustomer(@PathVariable long customerId, @RequestBody CustomerRequest request) {
        return customerService.updateCustomerDetails(customerId, request);
    }
CustomKeyGeneration: This is responsible for generating every key for each data item in the cache, which would be used to look up the data item on retrieval. The default implementation here is the SimpleKeyGenerator — which uses the method parameters provided to generate a key, as shown earlier. However, we may want to provide a more customized approach to generate the cache key based on specific criteria. To achieve this, we can use the keyGenerator attribute. To give a different custom key generator, we need to implement the org.springframework.cache.interceptor.KeyGenerator interface. The class needs to implement a single method as shown:
    public class CustomKeyGenerator implements KeyGenerator {
        @Override
        public Object generate(Object target, Method method, Object... params) {
            return target.getClass().getSimpleName() + "_"
              + method.getName() + "_"
              + StringUtils.arrayToDelimitedString(params, "_");
         }
      }
    @Cacheable(value = "customerInformation", keyGenerator = "customKeyGenerator")
    public ResponseEntity<APIResponse> getByCustomerId(@PathVariable long customerId) {
        return customerService.getByCustomerId(customerId);
    }
Redis servier installation in local system
Post implementing your changes next you need to install the redis servier in local. For the
installation please visit following link Redis Servier msi file
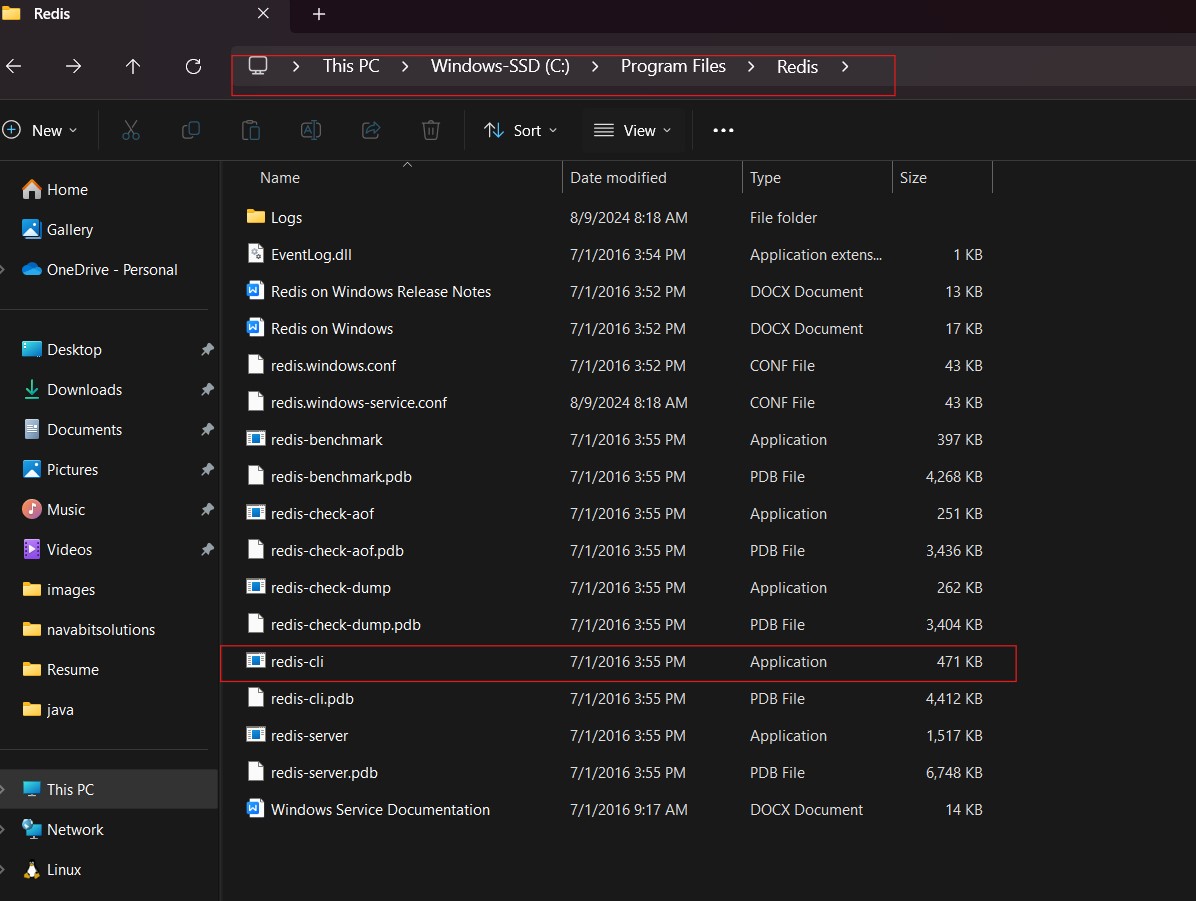
and download the latest .msi file and do the installation. Post installation navigate to
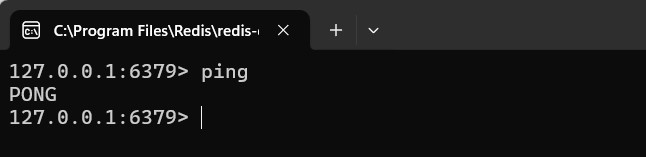
the installed directory and open the redis-cli file.